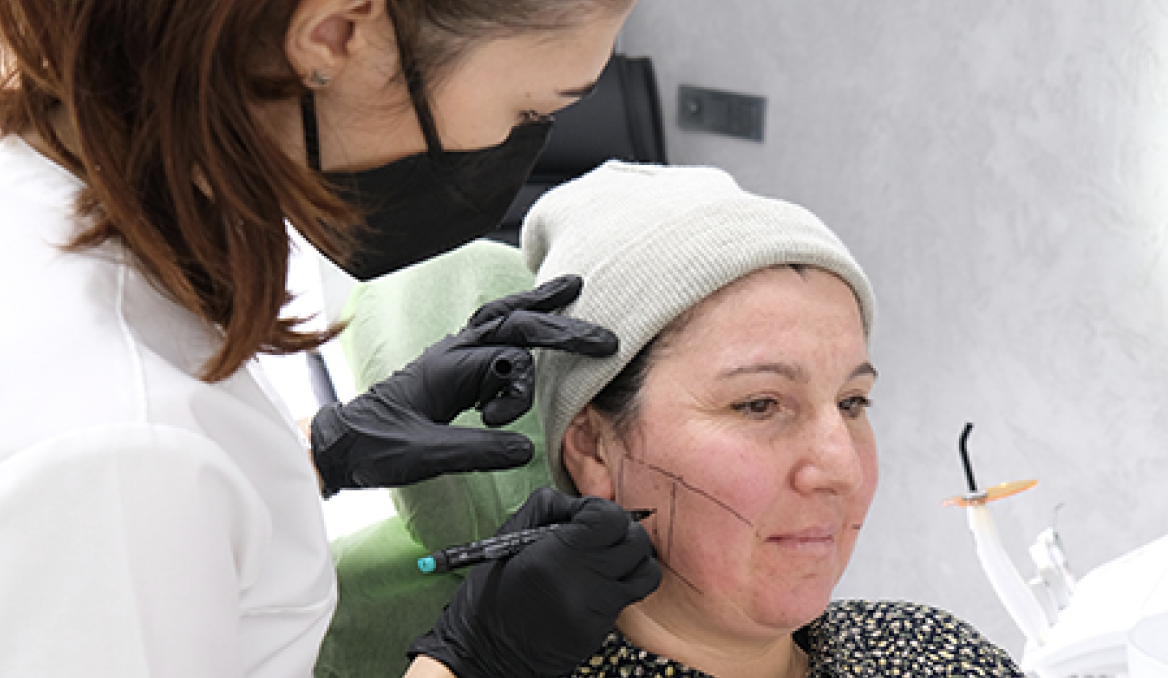
We pay great attention to sterilization for the health of our patients.
The health of patients and clinic staff is very important. Being treated under clean and sterile conditions is a mandatory requirement for every patient. Therefore, disinfection and sterilization process should be applied separately for each patient and each treatment session.
For this purpose, the procedures to be applied in dental clinics are as follows:
All the hand tools, burs, canal tools and surgical materials used are first disinfected by putting them into the disinfectant solution. An effective disinfectant is used against all bacteria, viruses (Covid-19,Hepatitis, AIDS, Tuberculosis, etc.) and their spores in clinics. Disinfected instruments are washed and rinsed during the day, these instruments are bagged in the bagging device and then sterilized in an autoclave under high heat and pressure.
Physicians and auxiliary staff use gloves, masks and protective glasses during treatment in clinics.
The air-water syringe, heads and all surfaces used during the treatment are wiped and cleaned with a surface disinfectant effective against viruses and bacteria.
Disposable products are preferred to prevent cross infection. Disposable products such as gloves, patient gowns, plastic cups, syringes, needle tips for anesthesia, saliva ejector are thrown away immediately after each use.
Step 1: Bringing Instruments Into Sterilization Area
Once the patient has left the dental office one must grab the instruments and take them to the sterilization room. Once in the sterilization room there will be two sides, one of the sides is called the “dirty” side and the other side is the “clean” side. When the instruments are dirty and need to be cleaned and sterile you would set them on the dirty side..
Step 2: Putting the Gear on and Precleaning the Instruments
After being set on the dirty side, the person cleaning the instruments needs to put some gear on before starting; for example, normal exam gloves, mask, eyewear, and then big utility gloves. The utility gloves help protect from stabbing oneself and infecting themselves.
Now the instruments can’t just be put into the sterilizer right away, there is a few steps in between before we get to actually sterilizing them. First take the instruments and rinse them under the sink to remove saliva and debris that is on them. When the instruments are done being rinsed, open the drawer and crab this container that has holes in it. This container is called a cassette. Close the cassette and place it into the big tube of water. This big tube of water is called an ultrasonic. The ultrasonic has a job to remove even more of the debris and saliva off of the instruments. The instruments can’t just be placed in the ultrasonic for as long as someone wants, because if the instruments are left in there for too long they may corrode or rust. The ultrasonic should be ran for 5-10 minutes.
Step 3: Getting Instruments Ready for the Sterilizer
The ultrasonic just turns off when it is done running; therefore, take the instruments out and run them under the sink again to rinse them one last time. After being rinsed there should be a towel on the counter, dump the instruments onto the towel and dry them good. Wet instruments shouldn’t be put into the sterilizer bags went, because they could corrode or rust as well.
The instruments should be completely dry; therefore, once that is done take a sterilizer package, they come in different sizes depending on the instruments. If the instruments are supposed to be packaged in a procedure set up, then the biggest package that looks like they should all fit should work. Take the instruments and place them one by one into the package. Do it very carefully or you could poke a hole into the package. If a hole appears in the package, just throw that package away and grab another. When the instruments are all in the package, the package needs to be sealed at the top. After sealed the date and initials of who packaged those instruments need to be put on the package.
Step 4: Placing Into the Sterilizer
Now the instruments can be placed into the sterilizer. Place the instruments in whichever one. Once the sterilizer is full, now it can be started.
Step 5: Taking Out of the Sterilizer
When the sterilizer stops running because it is done, simply take the instruments out and place them on the clean side to be stored away; however, before the instruments are stored check the package for holes, if the package has a hole the instruments are no longer sterile and need to be put in the sterilizer again. Once all the instruments are checked and put away, there will be a piece of paper that comes out of the sterilizer, that paper needs to be torn off and out away with the other sheets.